Light painting caught my attention some years back but I didn't not do much experiments with it for a long time. But recently it caught my attention again and this time I tried out different types /styles of light painting.
So What is Light Painting ?According to
Wikipedia light painting is a photographic
technique in which exposures
are made usually at night or in a darkened room by moving a hand-held light source or by moving the camera.
In Simple terms to do light painting, you fix your digital camera onto a tripod, put it in bulb mode, press and hold the shutter release button and let some one move a source of light in front of the camera in whatever style/way they want in a relatively dark room/area.
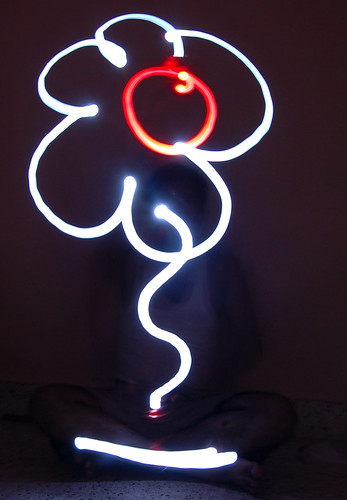
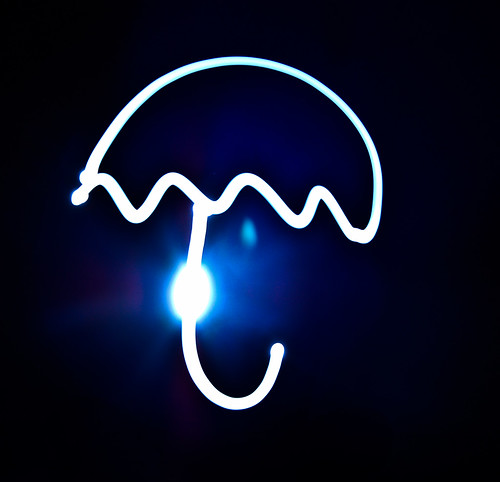
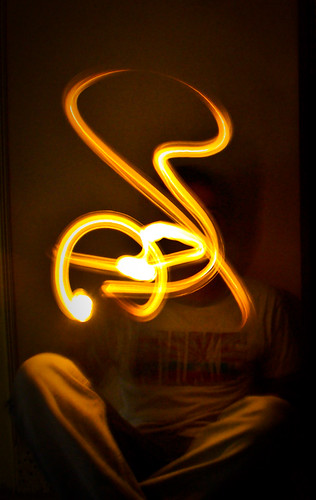
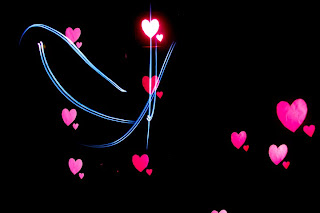
Below are some of my earlier tries at light paintings ( very basic & simple though ).
To make a light painting we need following things.
1. A Digital camera with supoprt for Bulb mode (
check this out to know what is bulb mode ).
2. A tripod
3. Some light source like CFL bulbs, regular or LED torch etc.
Note: If you are not taking any ones assistance, then you need a remote for shutter release.
DIY photography page has an excellent article about "how to do" light painting which you can read
here. So I wont go into the details of it.
Next, lets come to light painting with stencils. I was inspired by reading a article on how to do
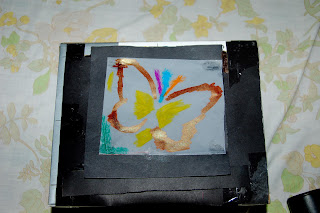
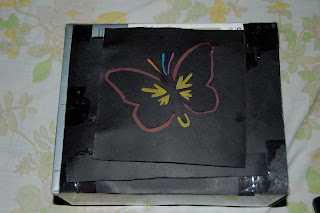
amazing light paintings with stencils at DIY page and I wanted do something similar myself. So I took the idea from that page and created a custom version of stencil box which looked something like this.
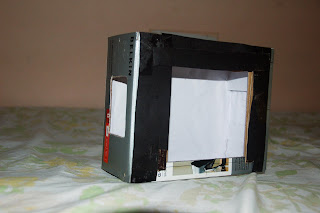
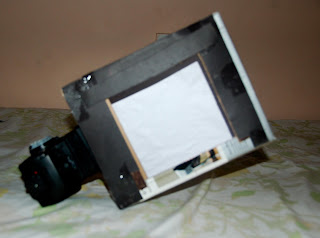
I created the box in such a way that I can add and remove stencil sheet from the box.
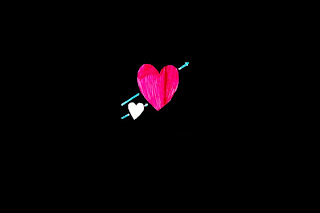
All set, In a dark room I started painting light with this stencils box with different stencils. Below are some samples.
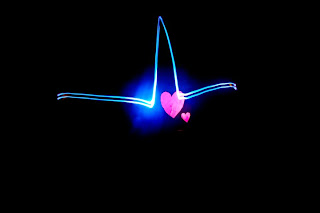
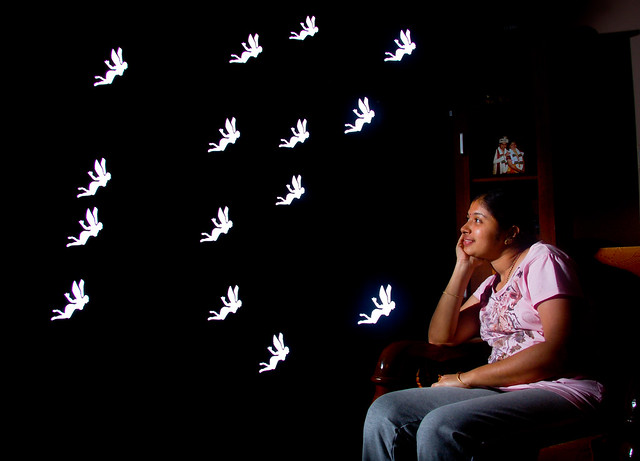
After the initial warmups, I tried some more creative light paintings like the one's below.
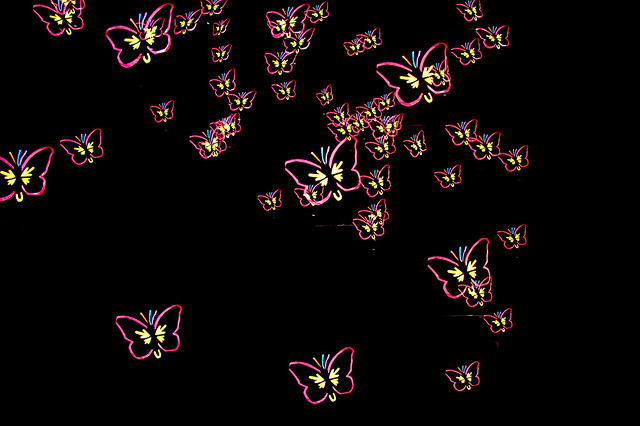
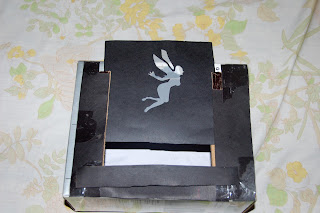
So in the images how do I get the colors ? To do this, I stick a tracing paper to the back of stencil and paint the different areas with different colors as shown in the images below.
Below are the links to some of the interesting light paintings I came across.
http://www.flickr.com/photos/tigtab/5299299085/
http://www.flickr.com/photos/kfinny/4137258588/
http://www.flickr.com/photos/tigtab/5299290579/
http://www.flickr.com/photos/tigtab/5268645787/
http://www.flickr.com/photos/tigtab/5053428871/
http://www.flickr.com/photos/tigtab/5066639678/
http://www.flickr.com/photos/tigtab/5042352757/